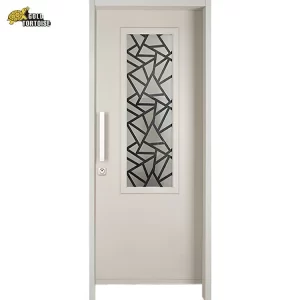
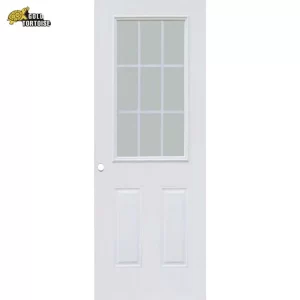
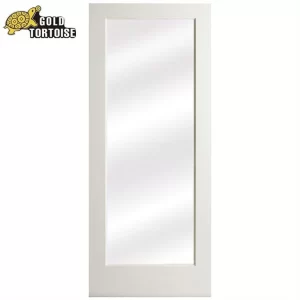
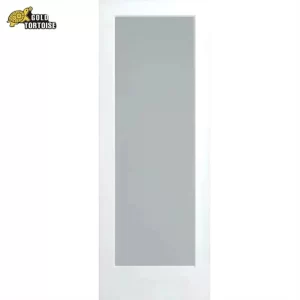
Installing glass door inserts inside a door is a delicate process that requires careful planning, precise measurements, and proper tools. Glass inserts can add elegance, natural light, and visual interest to a door while maintaining privacy and functionality. Below, we’ll explore step-by-step instructions on how to install glass door inserts inside a door.

Step 1: Gather Materials And Tools
Before starting the installation process, gather all the necessary materials and tools:
- Glass door insert
- Measuring tape
- Pencil
- Masking tape
- Drill with appropriate drill bits
- Screwdriver
- Glazing compound or silicone sealant
- Putty knife
- Safety glasses
Step 2: Measure The Door Opening
Start by measuring the dimensions of the door opening where the glass insert will be installed. Measure the width and height of the opening accurately to ensure a proper fit for the glass insert.
Step 3: Mark The Placement
Use a pencil to mark the placement of the glass insert on the door. Place the insert in the desired position and use masking tape to hold it in place temporarily. Make sure the insert is centered and aligned correctly within the door opening.
Step 4: Drill Pilot Holes
Using a drill with the appropriate drill bit size, carefully drill pilot holes through the door at the marked locations. Be sure to use a drill bit size that matches the screws provided with the glass insert to avoid damaging the door or insert.
Step 5: Install The Glass Insert
With the pilot holes drilled, carefully position the glass insert back into place within the door opening. Align the insert with the pilot holes and secure it in place using the screws provided. Use a screwdriver to tighten the screws securely but avoid overtightening, which could crack the glass.
Step 6: Apply Glazing Compound Or Sealant
To ensure a watertight seal and prevent any moisture from seeping into the door, apply a thin bead of glazing compound or silicone sealant around the perimeter of the glass insert. Use a putty knife to smooth out the sealant and create a neat finish.
Step 7: Allow For Drying Time
Allow the glazing compound or sealant to dry completely according to the manufacturer’s instructions before handling the door. This typically takes several hours, so be patient and avoid disturbing the door during this time.
Step 8: Clean Up
Once the sealant has dried, remove any excess sealant or masking tape from the door surface using a putty knife or utility knife. Clean the glass insert and surrounding area with a glass cleaner to remove any fingerprints or smudges.
Step 9: Test The Door
Before considering the installation complete, test the door to ensure that it opens and closes smoothly without any obstruction. Check for any signs of leaks or gaps around the glass insert that may need to be addressed.
Step 10: Enjoy Your New Glass Door Insert
With the installation complete and the door functioning properly, you can now enjoy the enhanced aesthetics and natural light provided by the glass insert. Admire your handiwork and appreciate the added beauty and functionality it brings to your space.

Conclusion
Installing glass door inserts inside a door can be a rewarding DIY project that adds both style and functionality to your home. By following these step-by-step instructions and taking care to measure accurately and handle the glass insert with care, you can achieve professional-looking results that enhance the overall appearance of your doors and living space.


