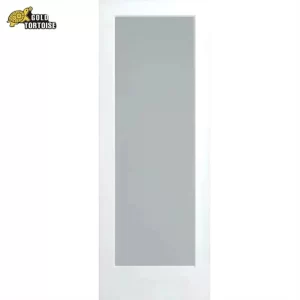
Removing the skin from a door involves carefully separating the outer layer (door skin) from the underlying structure. Here are general steps for removing a door skin:
Materials and Tools:
1. Screwdriver
2. Utility knife
3. Pry bar
4. Hammer
5. Wood glue (if reusing the skin)
Steps:
1. Inspect the Door:
Examine the door to determine how the door skin is attached. Some doors have skins that are glued, while others may be secured with adhesives or screws.
2. Remove Hardware:
Take off any hardware attached to the door, such as knobs, hinges, and locks. This will make it easier to work with the door.
3. Score the Edges:
If the door skin is glued, use a utility knife to carefully score the edges where the skin meets the door frame. This helps weaken the bond between the skin and the underlying structure.
4. Pry the Edges:
Gently insert a pry bar or putty knife between the door skin and the door frame. Apply even pressure to pry the edges of the skin away from the frame.
5. Work Around the Door:
Gradually work your way around the entire perimeter of the door, continuing to pry the skin away. Take your time and be patient to avoid damaging the door or the skin.
6. Remove Screws (If Applicable):
If the door skin is secured with screws, locate and remove them using a screwdriver. This step may be necessary in addition to prying if screws are present.
7. Separate the Skin:
Once you have loosened the entire skin, carefully lift it away from the door frame. Be cautious not to crack or break the skin during the removal process.
8. Clean the Door Frame:
After removing the skin, inspect the underlying door frame. Clean off any remaining adhesive or residue using a suitable adhesive remover.
9. Inspect the Skin:
Examine the removed skin for any damage. If you plan to reuse the skin, make any necessary repairs, and clean it thoroughly.
10. Reattach or Replace:
If you intend to reuse the door skin, apply wood glue to the back of the skin and carefully press it back onto the door frame. If you’re replacing the skin, prepare the door for the new skin or consider other finishing options.
Always exercise caution during the removal process to prevent injury or damage to the door and skin. The method may vary depending on the type of door and the adhesive used. If in doubt, consult the manufacturer’s guidelines or seek professional assistance.


